What is a pinball without its pins! Pins are also called posts.
Pins are available in all kinds of shapes and colours:
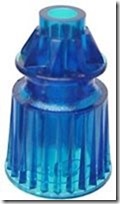 | 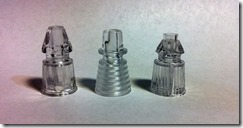 |  |
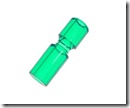 |  | 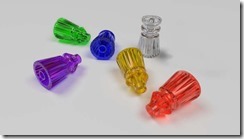 |
I could have just bought them, but it is nicer to design your own ones! Also then I can change them so I could use standard M4 size screws instead of the special screws a standard pinball uses.
A typical pin is 27mm high. Combined with the special pin screw it makes a total height of 29mm. This is then the height the playfield plastics are normally mounted.
There are 2 ways a pin is used:
- the pin is used to mount the playfield plastics on
- the pin is only used to hold rubbers, and does not support the plastics. For the non supporting one, the head of the screw is below the plastic.
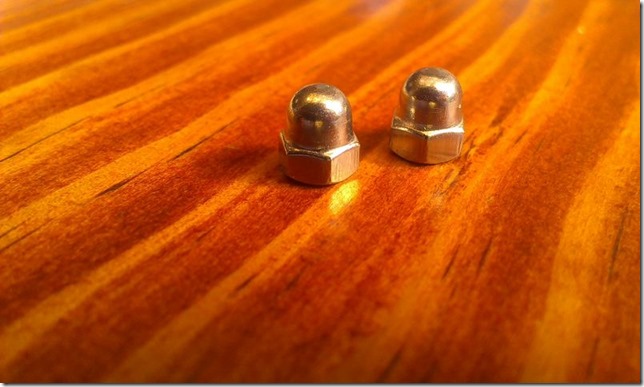
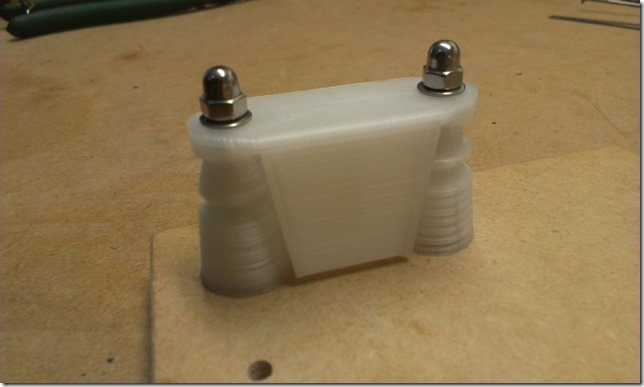
Because I plan to use normal M4 screw, the height of the pins has to change a bit. The head thickness of a m4 screw and washer is 3.5mm , rounded to 4mm. I wanted the plastic and playfield side rail to be both on 30mm height. This allows gates to be mounted on both without height differences. I also like to use a nice chromed acorn nut on top of the plastic, instead of these ugly locknuts I see everywhere. So the M4 screw head must be below the playfield. The nut to hold the pin in place is integrated into the pin using a melt nut. Possibly I need to use a tread glue to lock the acorn in place, but that I will try out later.
Acorn nuts.
So I make 2 size pins:
- a 30mm high pin with build in m4 melt nut
- a 26mm height for hidden pins, without melt nut. These have the screw head on top, and a nut below the playfield.
Ok, what shape shall the pin have? I didn’t know (and still not decided which one) so ended up designing all kinds of shapes.
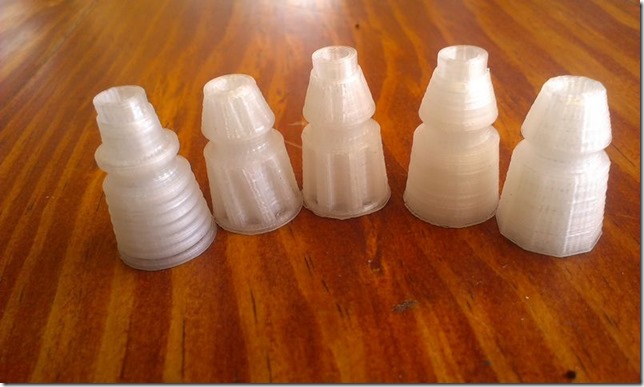
I have faceted pin, pins with vertical ,angled and horizontal ribs and smooth pin. All in 2 different sizes. You can see the slightly larger hole needed for the m4 melt nut in the taller pins.
To allow these pins to be printed without support, the shape of the rubber groove is important to avoid the use of overhangs of more as 45 degree.
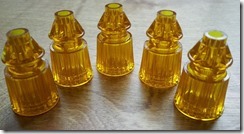
Here some examples:
I have printed them in transparent ABS. But I don’t think that is the best choice. You are distracted from the shape by the internal patterns created by the 3d printing process.
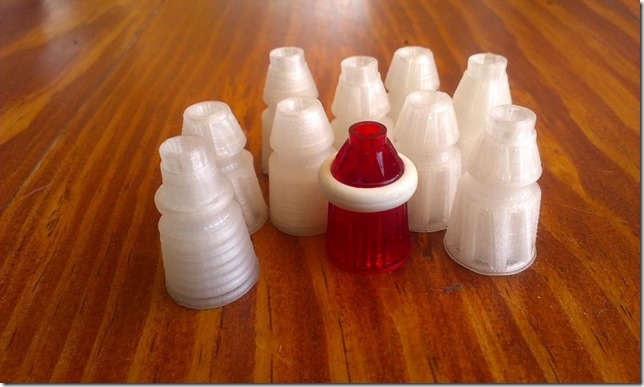
So at least they need to be coloured transparent to make the shape better visible. But likely it needs to made from a opaque, coloured plastic.
Here you can see more shapes printed compared to a factory pin. This is the only factory pin that I have!
In this picture can you see how the shiny acorn nuts sits on top of a line guide. The lane guides will be discussed in a later blog.
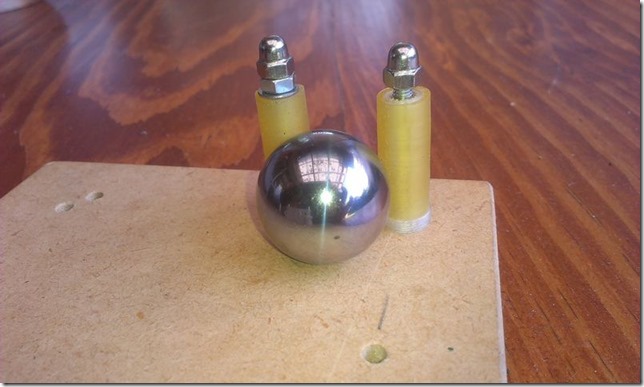
Here an example of a hidden screw and acorn nut version of the pin. The number of washers is to simulate the 2 or 3mm thickness of playfield plastics.
Reflected in the pinball you can see our garden and the grapevine growing on our deck roof here in New Zealand.
Now I need to print some coloured pins to see how they look. And then decide what to use for the firepower inspired playfield.
On certain positions you need a smaller pin. This uses as rubber a piece of latex tube. I am uncertain how strong this is, and how it would handle the abuse by the pinball.
The top contains like the 30mm pins an optional melt nut. This allows them to be used as playfield plastic supports. The extra nut is a playfield plastic dummy. If not covered with plastic, and a shorter screw could be used.


No comments:
Post a Comment