The 3d model
A typical flipper assembly looks like this:
(sorry source of picture unknown)
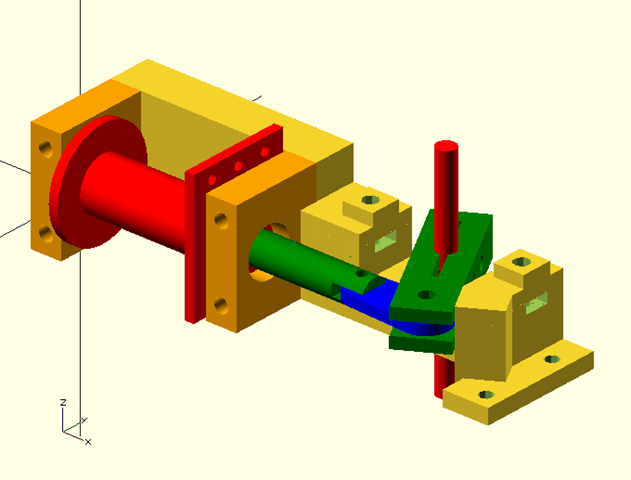
I tried to design the 3d model similar to this with all parts placed on a baseplate. But that did not work out that well. It was not very strong and a huge baseplate.
So tried another approach with a beam that holds all parts. That did work out much better, and was using the capacities of a 3d printer and plastic better.
The yellow bit is the base of the flipper. The blue and green are the movable parts. Red is the coil and orange the coil holders. The vertical red cylinder is the flipper shaft. Cost me a week fiddling to get all the dimensions and movements correct.
The small light green rectangles slots are nut traps. You press a nut in here, and then you can use a screw from the top.
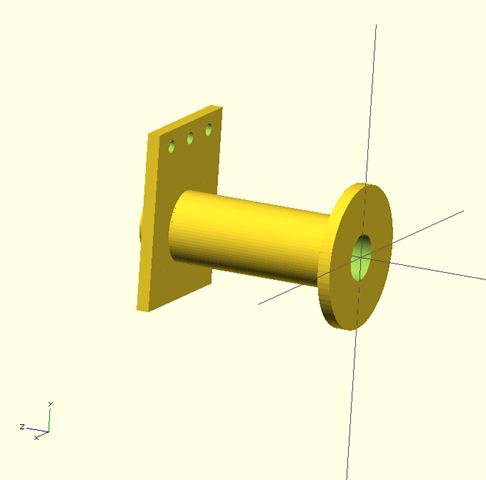
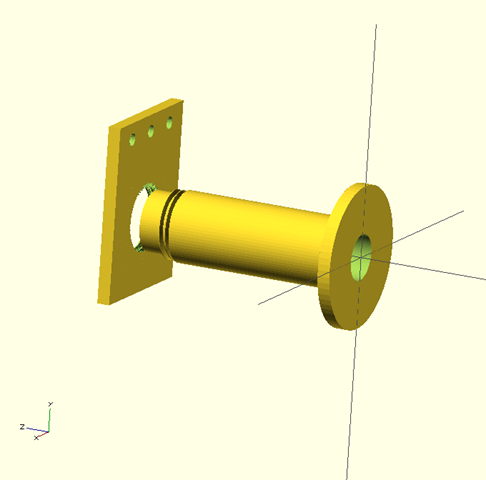
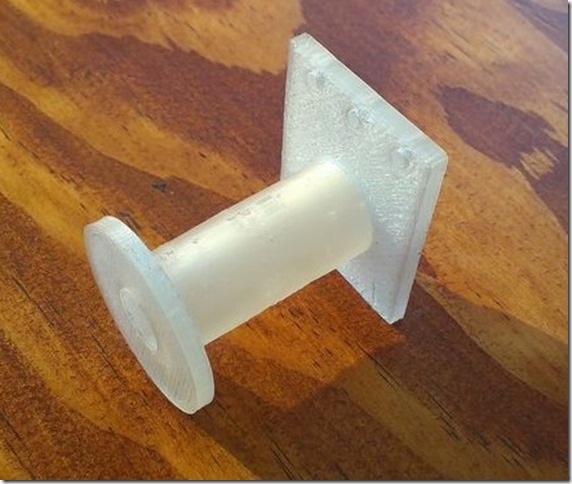
The coil holder
Interesting part is that complexity is no issue with a 3d printer. So I designed a thread between the 2 parts of the coil. You screw both parts together and then glue them forever together.So the screw function is only used once.
The flipper assembly
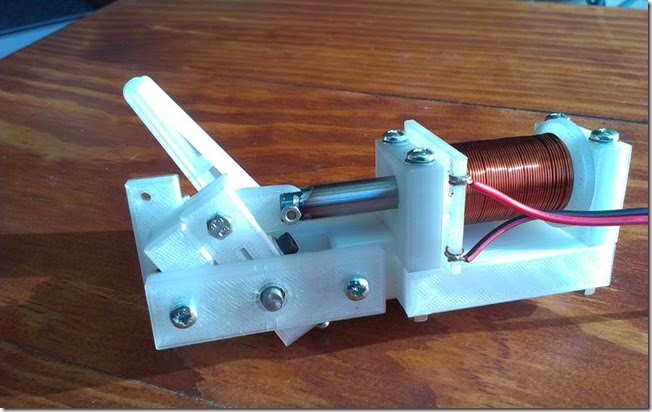
After letting my mendel90 run for a couple of hours here the result. A fully functional flipper made out of plastic where possible.
For the first test wound the coil with 0.68mm copper and 300 turns. The coil takes a huge amount of current. With 3 amps the plunger barely moves. With 5A it just decides to flip. On a 10A 24v supply it works much better. The plastic test balls fly everywhere. The on duration is hand timed and thus not short enough, so the coil heats up fast.
In contrast to the standard flipper assemblies, this model uses real bearings. No more issues with worn out nylon parts! You cannot see the bearings in the picture above, because they are inside the plastic.
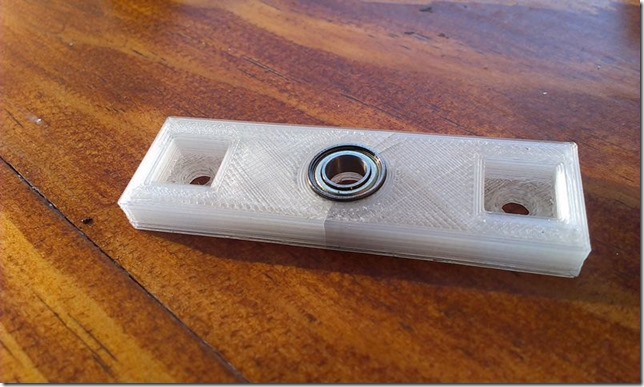
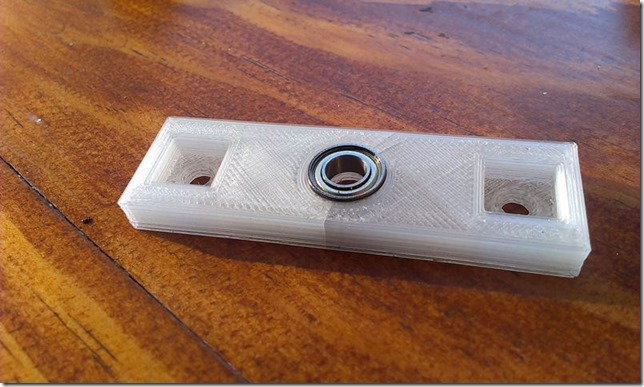
This is the support seen from the other side showing the bearing
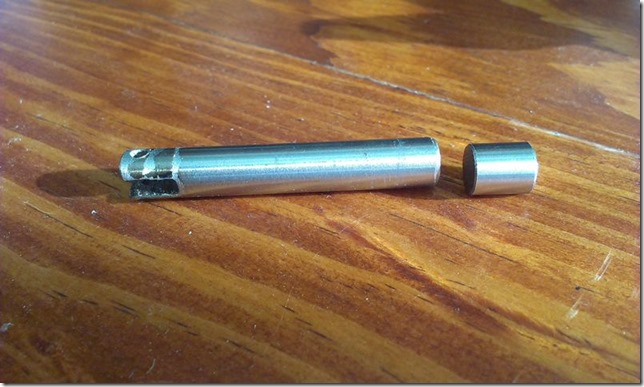
The plunger was made with a 10mm silver steel rod. Really pricy are these here in New Zealand ! Bit of hacking with an angle grinder to make the slot. The small bit on the right is the plunger stopper. This is melted into the plastic on the end of the coil.
Design issues
shaft arm
The arm holding the flipper shaft causes most design issues. The issue is that in order to hold the flipper shaft non slip, you need a lot of pressure. But the shaft and the plastic are smooth and slippery.
The needed amount of pressure is just on the edge of what ABS extruded plastic can handle. I made 4 designs. Some suffered from ABS bending to much, and preventing enough pressure. Others suffered from fracture, because the pressure of the abs was just too much.
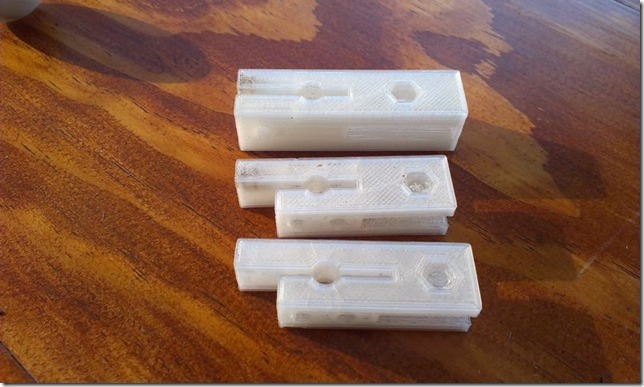
See here the various designs that failed.
The top was too flexible and did not grip the shaft. The middle was better, but cracked because it was too stiff. The bottom one cracked between the screws.
The current one looks ok, but don’t know if it will holdup under load. Likely needs to be printed with PC (polycarbonate), a much stronger plastic.
press fit bearing
Also making bearing press-fit is tricky. Either the holes are too small and it breaks or it is too loose and does not function.
In this print the fitting was too tight, and the plastic did split when inserting the bearing
Surprise!
I came across the blog of the homepin manufacturer https://www.facebook.com/HomepinPinball , and he had some drawings of their flipper mechanism: (picture below © homepin)
Surprise: They used the same approach for the flipper ! And he is also using bearings. Their design is more square, because they mill them out of metal.
Next challenge: the ball-saver.


No comments:
Post a Comment