Ball saver
The ball-saver is an assembly normally associated with the left outline. It can return a ball back into the field if the player has met certain conditions.
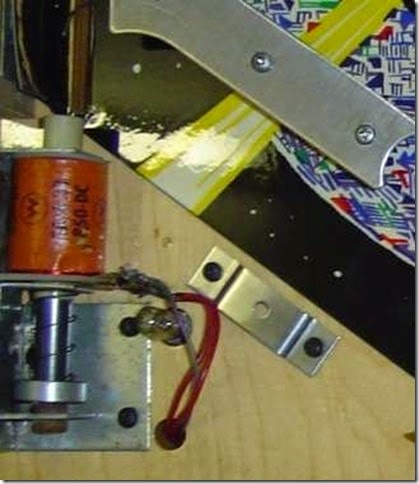
This is a picture of the ball saver from a FirePower game:
( again: source of picture unknown )
This is one of the few coils in a pinball machine that are actually on top of the playfield.
Because it has to hit the ball in the middle for maximal effect, the height must match the ball. A normal pinball ball is 27mm in diameter, so that sets the diameter of the coil too. The alternative would be to mill a hole in the top of the playfield and sink the ball-saver into the playfield a bit.
The model
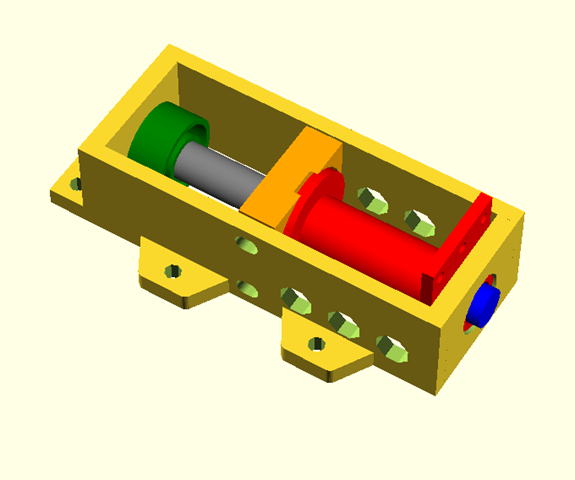
Cad model of the ball saver in rest/idle position
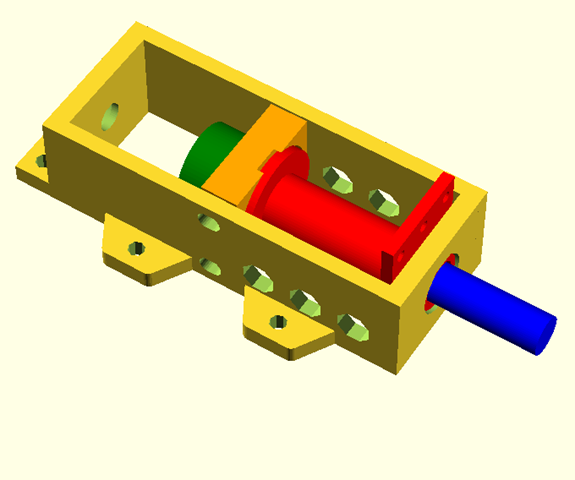
Red is coil yellow is frame orange is coil holder. grey is plunger . Green is plunger stopper and blue the top that actually kicks the ball.
Not shown in the cad is the spring that is used to move the plunger back to its rest position, and the grommet to dampen down the return movement.
This is the ball-saver is active position. The spring is stored inside the green plunger stopper.
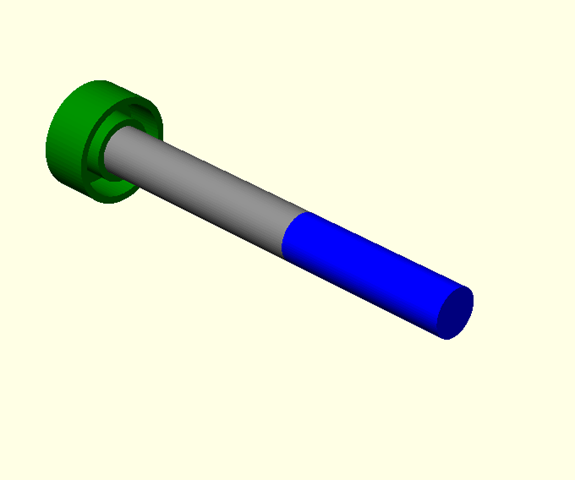
This is the plunger.
grey is metal plunger . Green is plunger stopper and blue the top, both plastic . The groove in the green part will hold the spring.
The plunger is hot inserted into the green stopper. Im always surprised how good a bond this does give between the plastic and the metal. The blue top and plunger are connected with an internal screw.
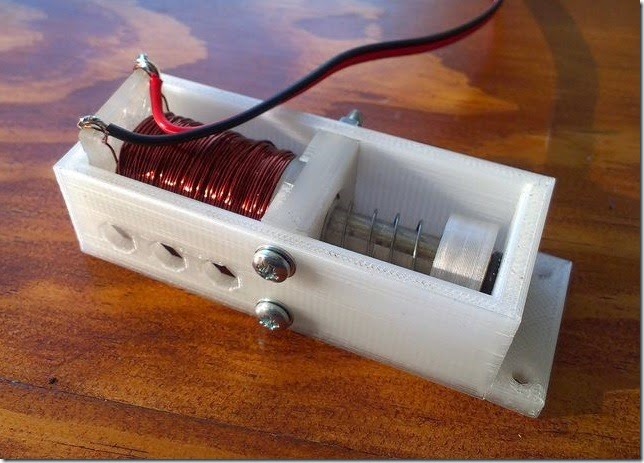
The final result
The coil has about 600 turns of 0.5mm. I planned for 850 turns like the original but could not fit more windings. It still has more then enough power to push the ball away. Still have not found the test ball back .
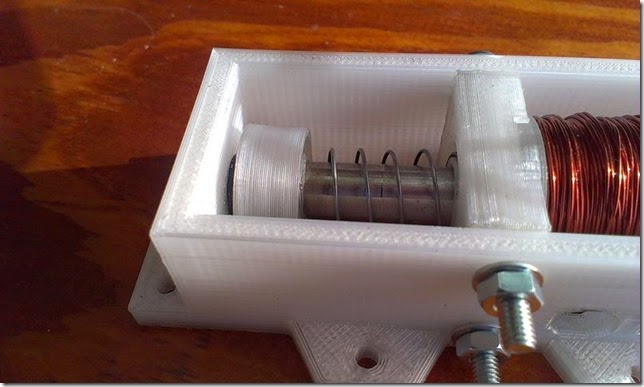
Detail view of the spring and stopper.
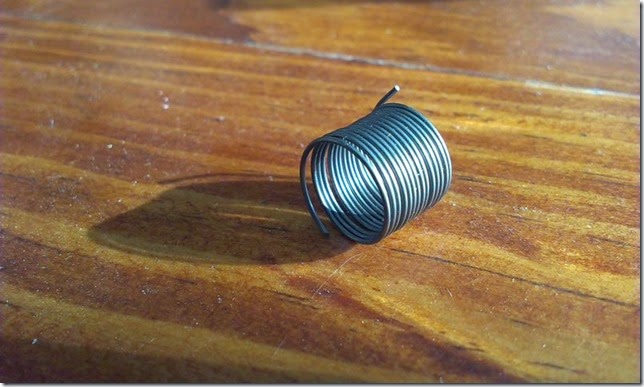
I have a box full of springs, but do you think I could find anything matching what was needed? I was already browsing the web trying to find something when I thought: why not make one yourself ?
And that was so much easier then expected! Just wind some 0.6mm spring wire around a 8mm former, and voila: the spring.
Only pull it out till the needed length. So much faster then trying to source it from somewhere.
So in the end about every part of the ball-saver is made at home. I estimate about USD6 in total cost.
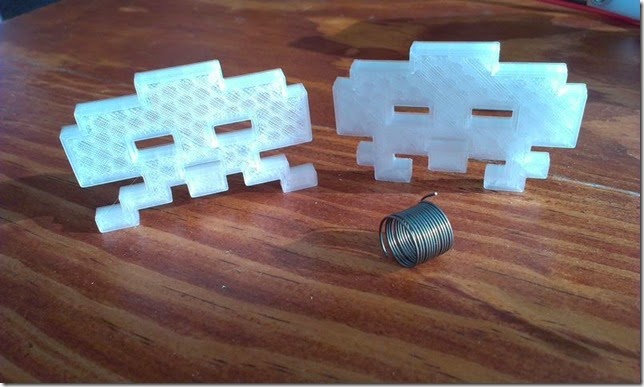
Couple of space invaders came in to check out the spring. Thanks to the honeycomb treatment they received, they are not aggressive any more.
Next stop: the ball eject.
No comments:
Post a Comment